


One of the most popular methods of starting a fire from scratch, other than struggling with a tinder pile, is creating a small bird’s nest, igniting it, and then using that small fire to initiate a larger campfire. This method of fire-making helps to create a fire relatively quickly and efficiently, because the different materials collected ahead of time, along with the shape of the Bird’s Nest, helps to create a more reliable fire. Making a bird’s nest first will increase the success rate and longevity of your initial fire, which is the hardest part of making an effective campfire.
Materials
The key to making a successful bird’s nest depends mostly on the material you find. The materials you use must be highly-combustible and have a long-burning capability. You’re going to want to collect three different types of dry material: course grass or twigs, finer flammable material, and an accelerant. You’ll use the accelerant to start the fire, the finer material will help to spread the flames, and then the courser material will keep the fire burning long enough to add more fuel and create a useful campfire.
So, start off by gathering very dry and coarse material such as dead grass, dry weeds, or fine sticks and twigs that will form the backbone or base of your Bird’s Nest. The dryness of this material will affect the success of your bird’s nest, so the dryer, the better. And really any type of dead vegetation that is brown and kind of “crunchy” will be best to help accelerate your fire when the time comes.
Next, you’ll want to find and collect finer material such as thin, dry bark or dry leaves. This material will be used to spread the fire quickly once it ignites. Again, these materials will typically be small, dead, dry, and easy to process. The thin, curly bark that peels off the outside of a birch tree is a perfect example of this finer material. By “processing”, we mean that you’re going to take the thin dry bark or leaves and shred it up into small fibrous pieces that are flammable, have a lot of surface area to spread a flame quickly, and also provide plenty of airflow to help nurse that initial flame to life.
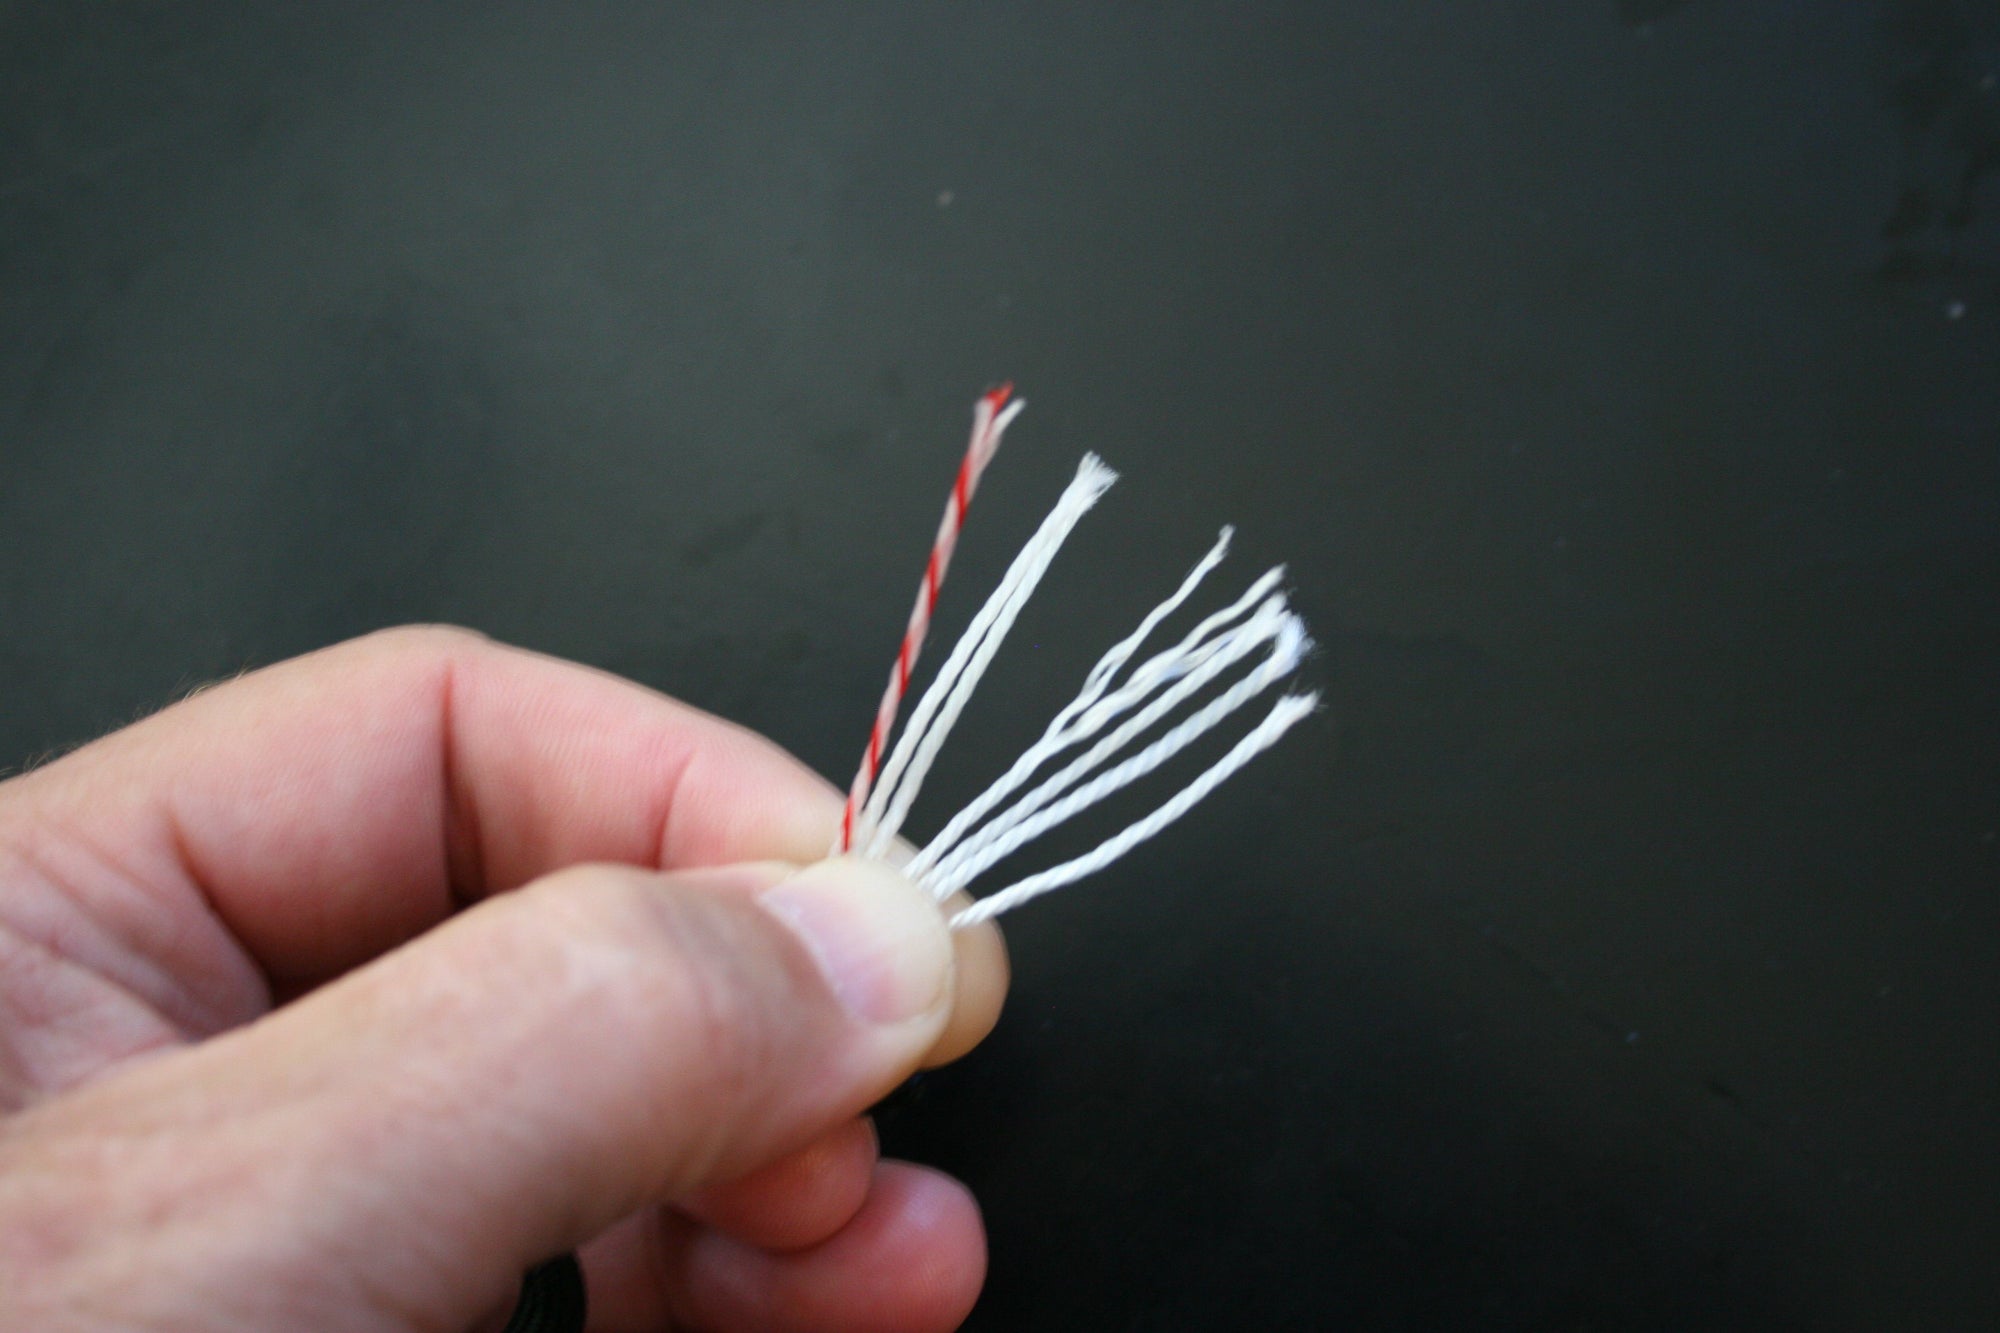
The third kind of material you will need is your most-fine material, which is something that will act as an accelerant. For the accelerant, most people will use dried pine needles, dried moss hanging from a tree, or even something they carry with them like our Jute Rope tinder - especially because it’s impregnated with 100% all-natural paraffin wax, which is highly flammable. Using a knife or something sharp to shave off pieces of the Waxed Jute Rope into the center of your bundle, for example, will create an effective and long-burning fire.
|
|
|
|
|---|


Building the Nest
Building the nest is fairly easy, but you’ll want to practice to get it right before it’s needed in an emergency. First off, you’ll want to make sure you are building your nest on a dry surface, so the fire will not go by coming into contact with moisture or dew. And as you build you nest, remember that you want it to end up looking like a real bird’s nest, hence the name.
Start out by forming your coarser material, such as the dried grass or fine dry twigs you collected, into a circle or egg shape and use your thumbs to spread apart the middle section of the dried grass bundle, almost like your spreading playing cards out. You want to be making a tiny bowl or indentation in the material, but not so much that you are making a hole in it.
Next, you’re going to take the finer processed bark and put it in the middle of the nest, spreading it around the inner bowl, so that when it catches it will spread the fire quickly to the twigs underneath. You’ll want to press it down into the middle of the bundle, continuing to make a small bowl, but be sure not to press too hard or you will eliminate the voids of air that are critical to nursing the infant flame.
Lasty, you’re going to take your finest accelerant material such as pine needles or Waxed Jute Rope, and put that in a loose layer on top of the processed material – right in the middle of the indented area that you previously created. You want to indent it all, making the middle of the nest become a small bowl of all the materials. You want the most combustible material on the top so you can light it first to start the fire.
When you’re finally ready to give it a try, set a spark to the accelerant in the center with your favorite SurvivorSteel or other “spark-making” tool. Once that material is aflame, fold the bottom layers of the bird’s nest over the top creating a large bundle that the fire can spread through quickly. If you need to give the fire an extra boost of life, blow lightly on the nest to direct airflow towards the base of the flames. If you’re using a premium accelerant like waxed jute rope though, there is no real need to help it along because the rope is so flammable. And there you have it!
IMPORTANT: A Bird’s Nest is just the first part of a successful campfire and used primarily to get the larger fire going. For practice, follow the steps mentioned above at least two or three times so that you really know what you’re doing, and can do it under stress if needed. If you’re creating an actual campfire though, you’ll also need to stage at least 3 more piles of successively larger twigs near your Bird’s Nest so that you can add the larger wood to the fire once the fire is burning well.
Watch this video for a visual idea of what your bird's nest should look like


Leave a comment (all fields required)