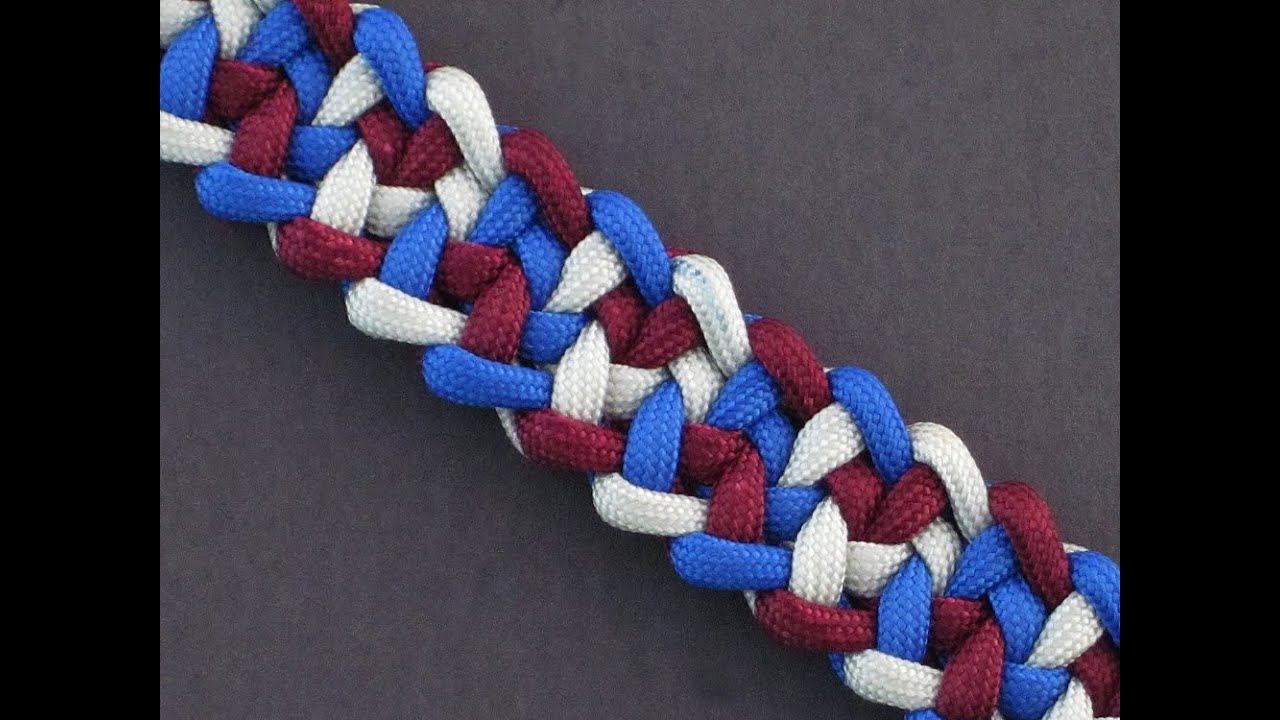
Learn how to make wind chimes with paracord in this video presented by Steve Ramsey. Make a unique, one-of- a-kind wind chime with paracord using these techniques.
There are a lot of different kinds of metal that you can use to make wind chimes. Copper and brass are great but expensive, so this tutorial is going to be working with a 10’ section of steel electrical conduit, which runs fairly cheap. This 10’ section of steel should be enough to create five notes resulting in an entire chord.
There are charts online that give you the exact length needed for specific tones for the different types of metals. A great website is An Approach to Wind Chime Design & Build. This website provides everything you need to know about how to build a wind chime, including design templates.
Once you have determined the notes you would like, and cut your metal to the proper lengths, the next step is to determine where each section needs to be hung from. The same website mentioned previously also has a guide on where the conduit should be hung from to give the best quality sound for each note and type of metal used.
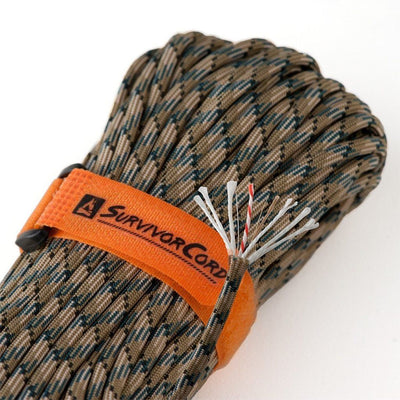
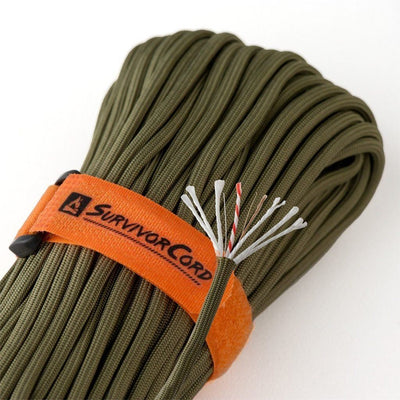
Once you figure out the length down the chime the hanging holes need to be, drill a hole on both sides of the pipe so they are directly across from each other. Do this for all the pipes. You will need a dowel, about 4’ of TITAN WarriorCord or TITAN SurvivorCord, and five small length of steel wire for each chime.
Take one of the sections of paracord and create a slip knot on one of the ends. Put the loop created by the slip knot over the end of the dowel and put it inside of the chime down to the holes drilled for hanging. Take one of the small steel wires and work it through the holes. The goal is to get the wire through the loop of the slip knot. Be prepared, this may be frustrating.
Once you get the wire through the loop, tighten your slip knot. While holding the ends of the steel wire, pull up on the paracord slightly bending the wire up. This makes it so the paracord hangs straight and doesn’t slide back and forth.
You will need a round piece of wood with an eyelet for each chime to hang from and an extra eyelet in the middle. They should be evenly placed around the circle of wood. You will also need three eyelets on the top for hanging of the entire structure. You can use paracord or chain here. There are also many designs available to choose from on the previously mentioned website.
Start hanging the chimes with the longest one first, bringing it pretty close to the eyelet. Hang the rest so that all of the bottoms are hanging at the same length. Now the chime needs a striker on the middle eyelet.
Take a round piece of wood that is smaller than the circle created by the chimes and drill a hole through the center of it. Put a washer over the hole and put an eyelet through the wood. They eyelet needs to be long enough to go through the wood to the other side. Place a washer over the end of the eyelet, screw a coupling to the end of the eyelet, and then screw a second eyelet onto the coupling. This will keep the striker from wobbling when in motion.
All that is left to do is attach the striker to the center eyelet using paracord and hang the entire structure. Now that you made one wind chime, make another with a different type of metal and observe the differences in sound. It is quite amazing.

