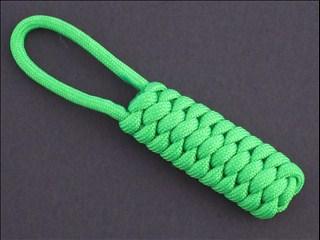
Learn how to make a paracord hammock in this instructional video by ParaHammockGuy. Why buy a hammock when you can easily learn how to make a paracord hammock.
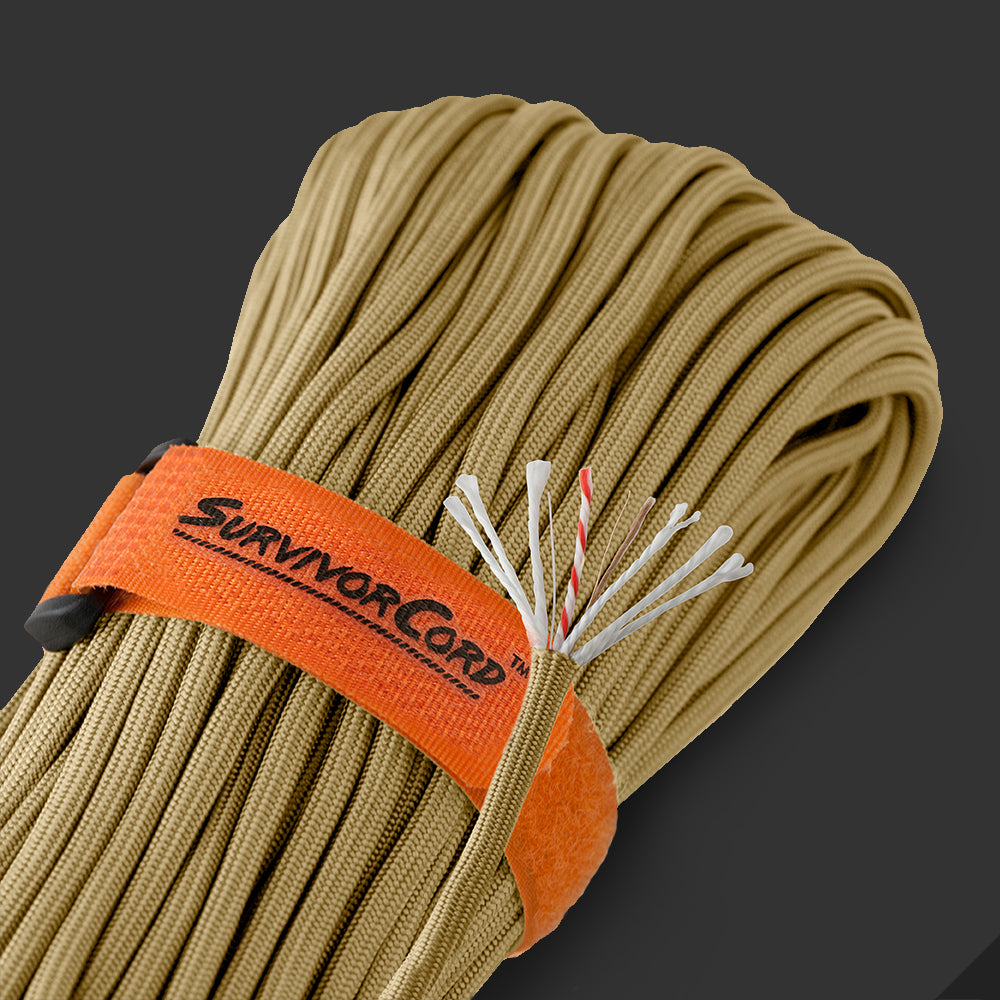
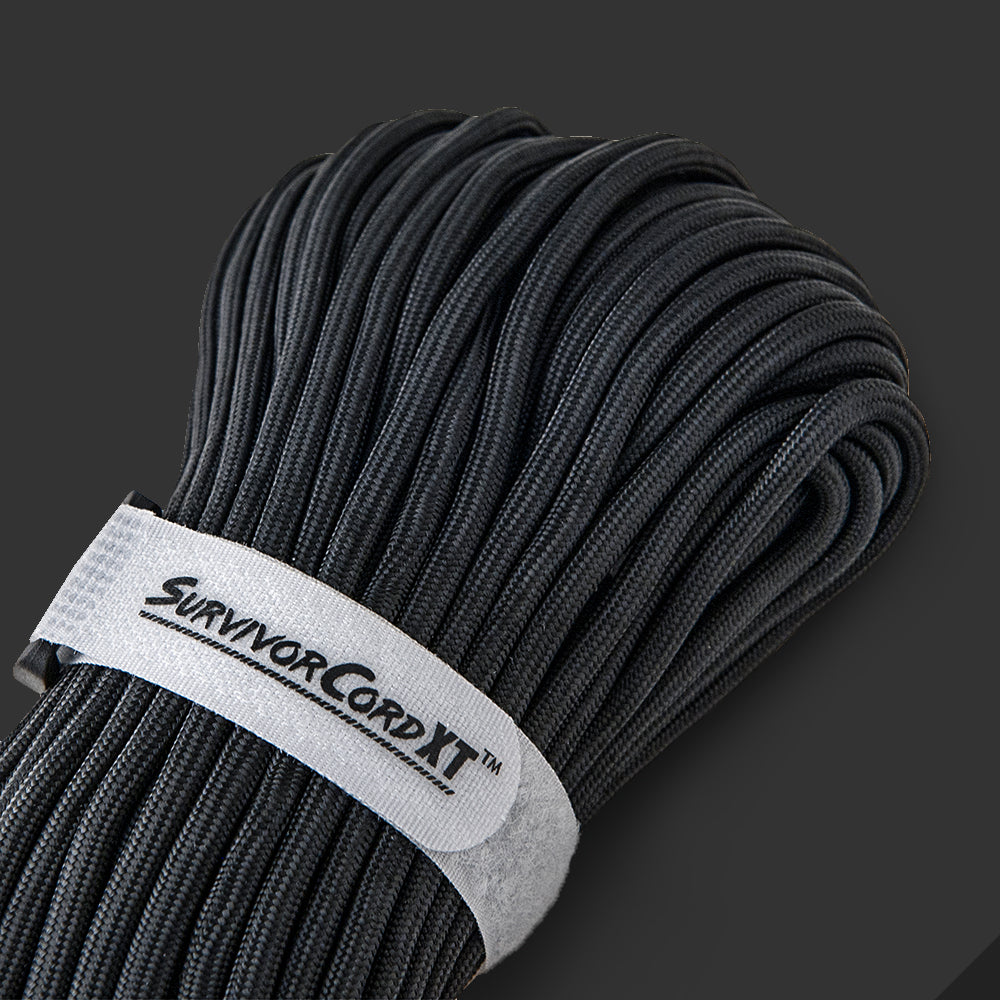
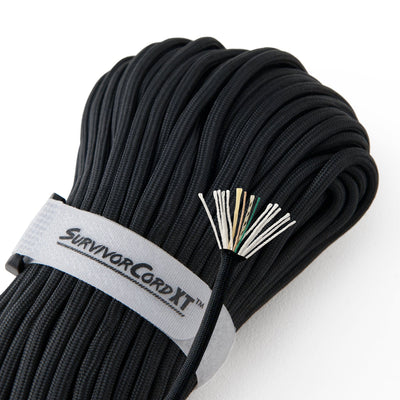
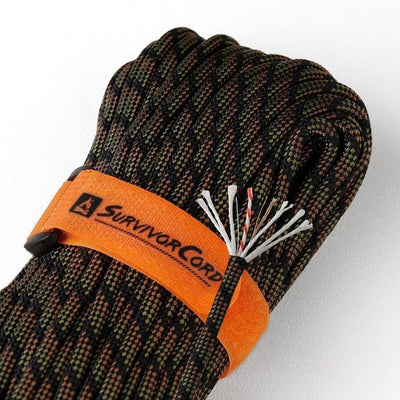
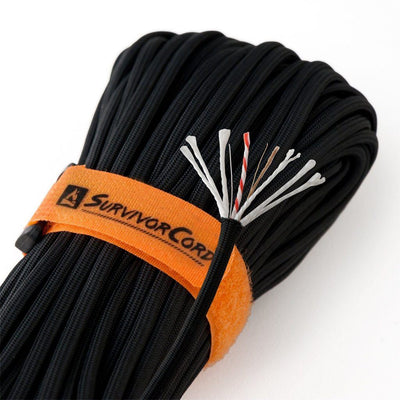
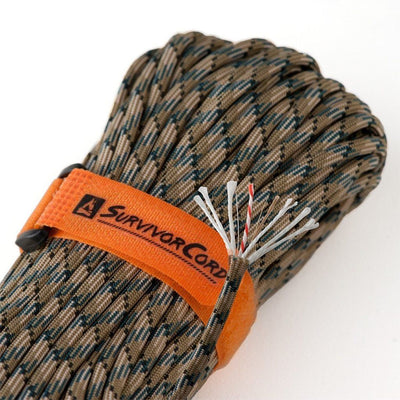
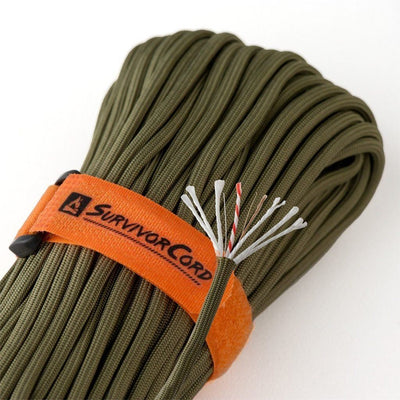
You could buy a hammock, but why not learn how to make a paracord hammock that will be strong enough to support the biggest of your friends and family, or to snuggle with that special someone. This article is going to discuss the process of how to make such a hammock using TITAN WarriorCord or TITAN SurvivorCord. You will need a 1000’ spool of paracord, a shuttle, two spreader bars mounted to a wall between 9’ and 10’ apart, scissors or something to cut paracord with, a lighter, and two suspension cords or carabiner.
First you will need to make two rope chain borders from paracord. To make a rope chain border, first start by creating a small loop and tying it with an overhand knot to a spreader bar, tightening when finished. Now make a noose and a loop in the rope. Tuck the loop into the noose and make another loop and work it through the previous loop. Keep repeating until you have reached the desired length of hammock. Anything between 9’ to 10’ seems to work pretty well.
Once you get to your desired length tie the end to the other spreader bar by placing the last loop on the spreader bar and then passing the paracord end though the loop, pulling to tightening the rope between the bars. You want to leave enough excess cordage to start the first pass that secures the hammock to the chain border. The length of your hammock should be a sufficient amount of excess cordage.
Using your index and pinky finger for a spacing gauge, measure in from the end of the rope chain and begin pulling the excess paracord through the rope chain and the same intervals. You can use a piece of a coat hanger wire that is bent in half to help pull the cord through the chain. Once you reach the end secure the remaining paracord to the spreader bar.
Now you are ready to start feeding the shuttle of paracord through. You will need almost a third of the cordage from a 1000’ spool of paracord on the shuttle to make the hammock in mostly one piece. If you do not have a 1000’ spool of paracord, that’s ok, you can use double fishermen’s knots to piece paracord together. Tie the end of the paracord on the shuttle to the next notch down on the spreader bar from where the rope chain boarder is. Begin passing the shuttle through the loops you just created coming around through the front with each pass.
Once you get to the other end of the paracord rope chain, loop the working end around the next notch down on the spreader bar and continue down the second row. Always make sure you are working with the previous row after making the turn around the notch on the spreader bar. Continue the process working your way down each notch on the spreader bar, typically there are between 20 and 25 notches on a spreader bar.
Once you reach the bottom, lace your second rope chain border through the hammock using the piece of coat hanger wire, making sure to grab each section as you weave it in and out. Trim excess paracord and burn all cut ends to keep them from fraying.
Now all that’s left to do is insert your suspension rope or carabiner through the ends of the hammock that are attached to the spreader bars. If your using a suspension rope, finish it off by tying a couple of half hitches, and that’s it your hammock is ready to be used!

