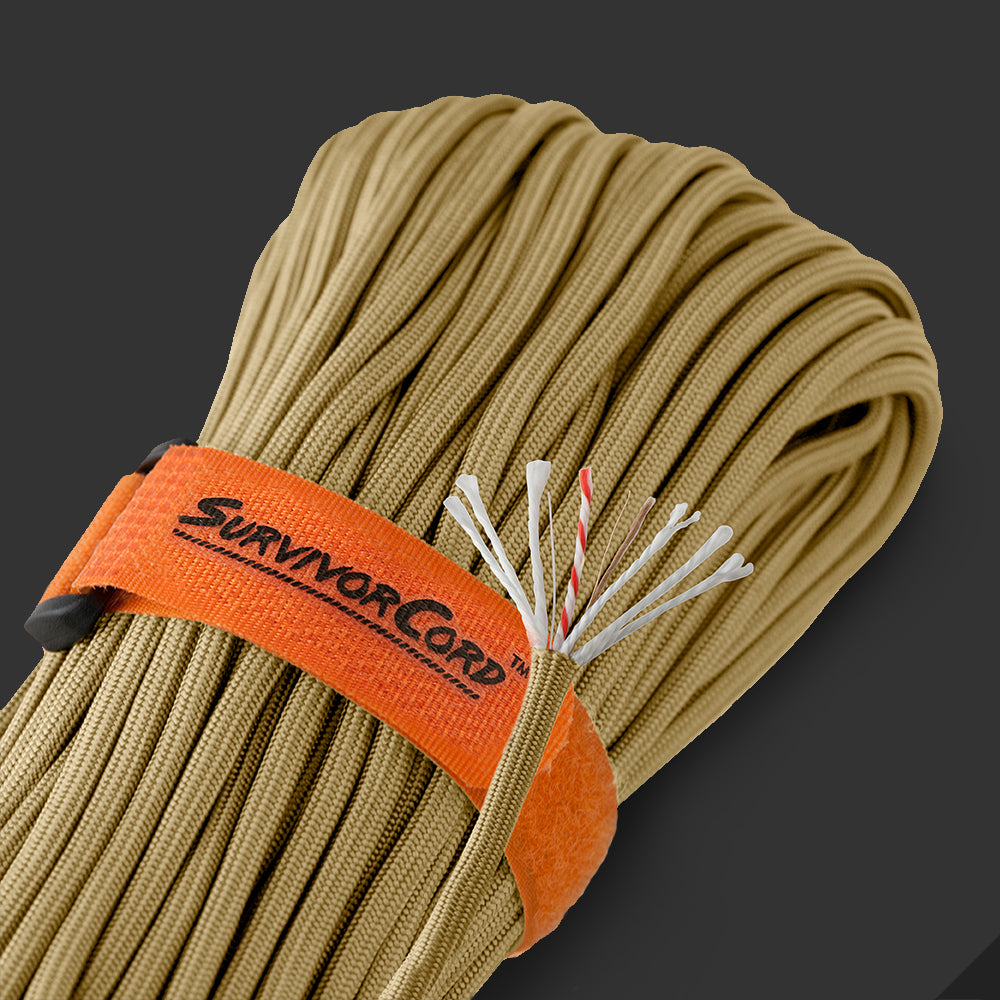
Discover how to make your own survival snowshoes using paracordin this video by Far North Bushcraft and Survival. Never find yourself knee deep in snow again, make your own survival snowshoes using paracord.
The first thing to do is find four hardwood or semi-hardwood branches. You want the branches to be at least 2” in diameter and long enough so that you can cut them to chest height. Try and find branches that already have a natural bend to them. You will also need four more sticks of about the same diameter but only 1’ in length, and a pile of spruce branches or something similar. The following will discuss how to make one of the snowshoes.
Tie the tops of the sticks together with SurvivorCord or WarriorCord, using the shear lashing technique. To make a shear lashing, first tie a clove hitch around one of the sticks. Then wrap the cord around both of the sticks above the clove hitch five to six times to create a simple lashing. Now wrap the lashing with two or three wraps in the center of the poles. These are called "frapping turns". Tie off the end with another clove hitch on the same pole as the first.
Next, take one of the 1’ long sticks and place it where you want your toe to be. Attach it to both sticks that make up the outer frame using a diagonal lashing. To make a diagonal lashing, start with a timber hitch around both sticks. Then wrap the paracord around one axis three or four times and then again around the other axis. Make three or four frapping turns to tighten the lashing, and finish with a clove hitch. Do the same to attach the other end of the toe support.
Now gently bend the ends of the two outer sticks together and attach them together using a shear lashing. Then attach the last 1’ stick where you need your toe support to be using a diagonal lashing. The snowshoe is basically complete and all that is left is to insert the spruce branches.
Insert the spruce branches cut side first from the bottom, underneath the foot supports and up and over the top of the snowshoe. You will want to get as many in there while still keeping it fairly flat. You may consider tying a support string across the back to keep the tops of the spruce branches in place. Repeat the process to make the second snow shoe.
To attach the snowshoes to your boot you will need two pieces of paracord that are about 5’ long for each boot. Tie the two lengths of paracord to the toe support so they will be on the outside of your boot. Then take the ends of the cords and loop them und the toe support on the opposite side they are tied. This will create a double loop where the toe of your boot will go.
Put the toe of your boot in the double loop and synch the loops down real tight by pulling on the ends of the paracord. Then cross the ends of the paracord over the top of your put, then cross around the back of your boot back to the front. Create a simple over hand knot, and then run one of the ends through the loops over the top or your boot. Pull the cord tight and tie a regular bow knot (like your tying a boot) with the remaining ends of paracord. Attach your other boot to the remaining snowshoe and you’re ready for some snowshoeing.

