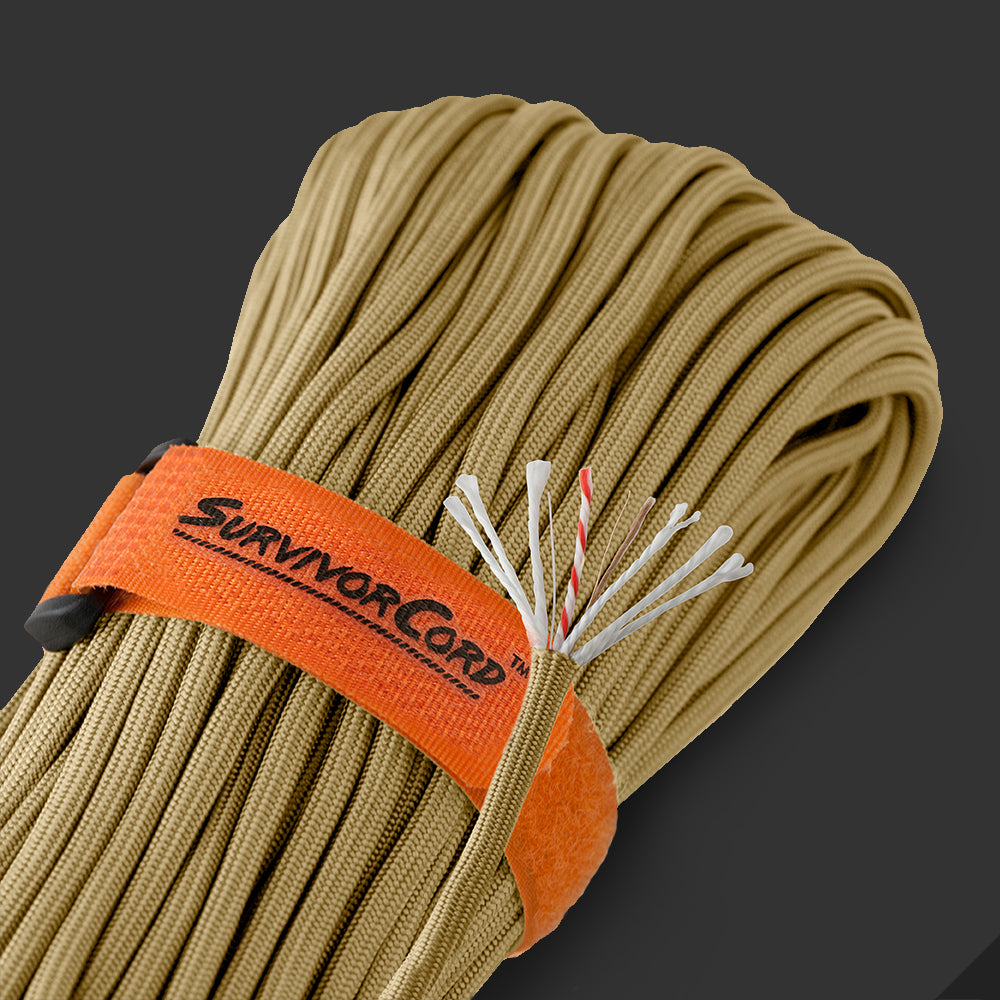
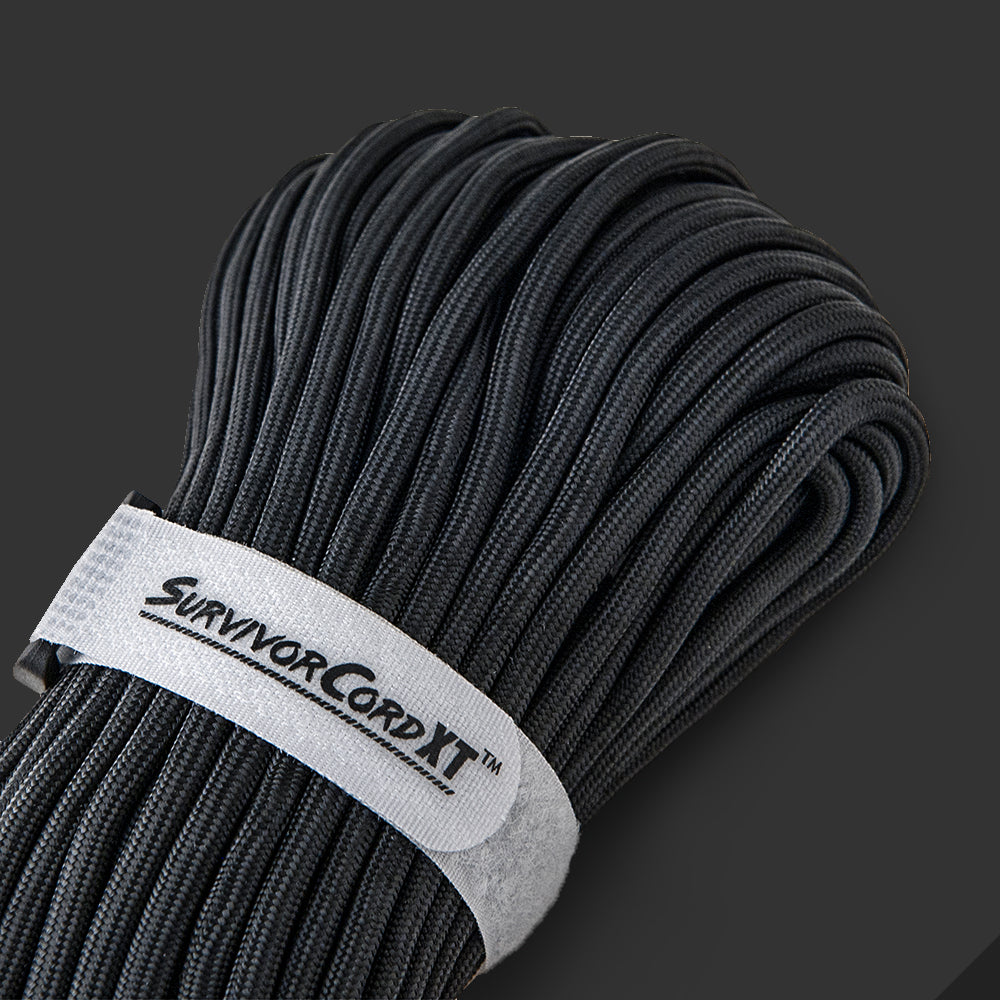
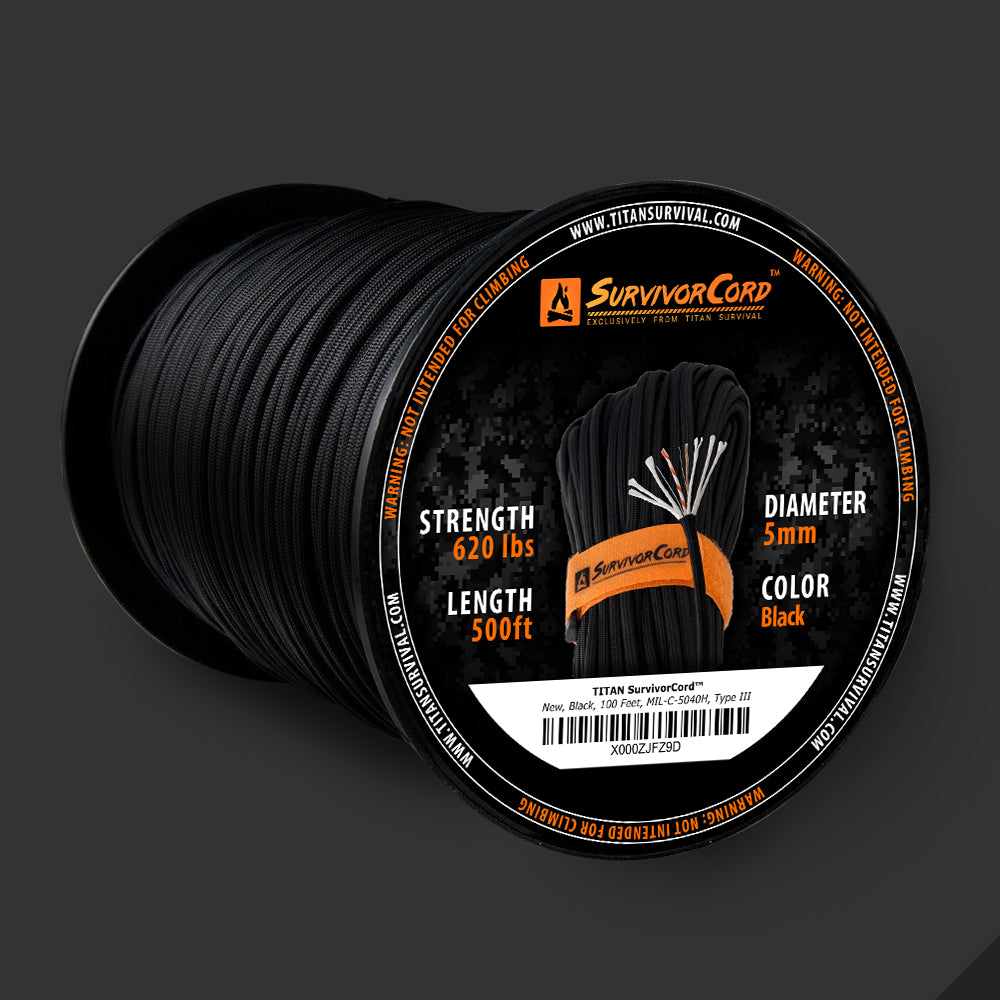
In this video we demonstrate how to make a bullwhip out of 550 cord, referencing this full tutorial by Nick’s Whip Shop. Try your hand at making paracord bullwhip using TITAN's trusted 550 WarriorCord or patented SurvivorCord.
You will need at least 300’ of SurvivorCord or WarriorCord, 5 ½’ of ¾” nylon cord such as sinker cord, a 10” steel rod with ¾” diameter, electrical tape, a lighter, a file or a sanding wheel, a tape measure, a few small bags of BBs, and a vice.
- Remove the inner strands from your nylon cord. File the ends of the steel rod so they are rounded and smooth so that it does not cut or tear the sinker cord. Now feed the steel rod into the hollow nylon cord about 2”. Hold it in place with electrical tape. The steel rod will make up the handle of the whip, and the remaining sinker cord will be the core of the whip itself.
- Fold the nylon cord in half. Do not include the handle when folding the nylon cord in half. Measure it as though the handle is not there. Then take a piece of tape and mark the center fold. Open the end of the nylon cord up with a pencil or something similar. Feed the BBs into the nylon cord and work them in until they are filled to the center mark. This is known as shot loading a whip. It will give your whip weight, giving it more momentum.
- Tie a knot just above the tape to make sure you fill it only half-way. Once you are done shot loading the whip, run your fingers along the nylon cord to make sure there are no spaces. You want the BBs to be end on end. Remove the tap marking the center point.
- Cut a 2’ piece of paracord and remove the inner strands. Take one of the strands and tie a knot with it just below the knot made to keep the BBs in place. Wrap the inner strand tightly around the nylon cord, tying multiple knots along the way, and squeezing it shut so the BBs stay in place. Tie a knot at the end to keep the inner strand in place. Remove the previous knot made with on the hollow nylon cord. Wrap electrical tape over the inner cord tied to keep the BBs in place.
- Place the metal rod end in a vice. Begin wrapping electrical tape around the whip, starting at the end of the handle, and working towards the tip leaving 1’ unwrapped. Singe the end of the hollow nylon cord so that it doesn’t fray. Put the handle back into the original position in the vice and reinforce the transition from the handle to the whip, with a few more firm wraps of electrical tape. This is completes the core of the whip.
- Cut two 10’ sections of paracord and pull the inner strands out. Find the middle of one of the gutted cords and fold it in half. Slip the loop of the center bend over the end of the handle so that you have a cord on each side of the handle.
- Take the right cord and cross it over the left cord, pulling the left cord to the right, and the right cord to the left. Slip cord on the right up to create a loop on the left side. Push the work to the tip of the handle and put the second ten foot cord through the loop halfway. Tighten the loop back down.
- This creates a four-plait, with two strands on each side. To start plaiting the whip, take the upper right cord around the back of the whip and between the two cords on the left side. Then work the same cord over the bottom left cord, and pull back over to the right. Keep everything tight.
- Now take the top left cord around the back of the whip and between the two cords on the right. Then bring the cord over the bottom right cord, and pull back over to the left. Start the same process again on the right and continue until you run out of cord. This will create the four-plait belly of the whip.
- Once you run out of cord hold the four-plait in place with electrical tape. Take a razor knife and cut the four remaining strands so they are decreasing in length from left to right. A small trim will do. This will create a gradual taper later. Pull the cords down and arrange them around the whip so there are no bumps.
- Take the electrical tape and bind it all together until you reach the end of the longest cord. Now wrap tight layers of electrical tape over the entire four-plait belly just created, starting at the end of the handle. You want wraps to be very tight.
- Once you get to the transition point between the handle and whip, make wraps backwards and then forward again to reinforce it. Continue working down the whip until you reach the spot you ended while wrapping the ends in place.
- The next step will be to create an eight-strand plait. You will need two 14’ sections of paracord, one 10’ section, and one 5’ section. Once your sections of paracord have been cut, remove all of the inner strands.
- Starting with one of the 14’ sections, find the center and fold it in half. Tie a knot in the cord to mark the center. Repeat with the second 14’ strand. These knots will not be undone, so make them tight.
- For the 5’ section of cord, fold it in half and then make one end four inches longer than the other. Tie a knot at the bend. Do the same thing for the 10’ section of cord. Next is to attach the cords to the whip to start the plaiting process.
- Take the two 14’ sections and place the center knots on the backside of the whip. You want the cords to be side by side. Bring the two left cords to the right and the two right cords to the left creating an x on the front of the whip.
- Slide the cord to the tip of the handle, and push the two cords on the right up to create a loop on the left. Take the 10’ section of paracord and feed it through the loop a few inches and lay it over the front. Do the same thing with the 5’ sections. Tighten the loop down onto the strands.
- Pull the 5’ and 10’ sections through until they stop at the knots previously created. Separate the cords so there are four strands on each side. Take the upper most right cord around the back of the whip and through the middle of the four cords on the left side, with two cords on each side. Then take the cord over the top of the two bottom cords and back to the right. Pull the work tight.
- Next take the upper most left cord behind the whip and through the middle of the four cords on the right side. Then work the cord over the top of the two bottom cords and back towards the left. Repeat this process, alternating sides, until you start to run out of the 14’ sections of paracord.
- Once you begin to run out of the 5’ section, lay it flush with the whip and plait over it. You will now be going between three lines on the right side. When you pass the cord through, pass it with two cords on top and one cord on bottom. Things will even out when you run out of your 10’ section of cord.
- Once you run out of your 14’ sections of paracord, spread them out around the whip so they are flush with it and wrap them with electrical tape. Then tightly wrap the entire whip with another layer of electrical tape.
- The last layer will be a 12-strand plait. You will need two 20’ sections of paracord, one 19’ section, one 14’ section, one 8’ section, and one 5’ section, all gutted. The 20’ sections are folded exactly in half, and all of the others are folded with 4” more on one side. Attach the cords to the whip the same as before.
- To do a 12-strand plait, take the two uppermost right cords around the back of the whip, over the top two cords on the left, under the middle two cords, and over the bottom to cords. Then work the cords back over to the right. Repeat the process, but starting on the left side. Continue this pattern until you run out of you reach the transition between the handle and whip.
- Once you get to the transition, take the upper most left cord around the back of the whip and between the cords on the right, with three on each side. Then go over the bottom three cords and back over to the left. Continue this pattern until you run out of your 20’ lengths of cord.
- Incorporate the other strands as they run out, into the core of the whip as done before. When you have an odd number of cords on one side, always slit the cords so there is one more on top than on bottom. When you reach the end you should have a four plait. Leave at least 1 ½” of strand.
- The last part is to make the tip of the whip, called a fall, which creates the cracking sound. You will need 4’ of paracord that is gutted. Make a small angular cut on one end of the cord. Use a lighter to singe the top of the cord. Then put a paracord needle on the end you just cut.
- Fold the paracord in half, and using the paracord needle thread the cord into itself towards the other end of the cord. Work all the way down to the end of the paracord until the needle comes out. Pull the needle through until there is ½” of the paracord through the end. There should be a loop at the other end. Take a knife and cut about 1” to the inside of the end of the paracord. Not from the end attached to the needle. Melt the end, to hold the cords in place.
- Open the loop on the end of the fall and place it over the tip of the whip ½” above the ends of the last belly. Lie the fall in line with the core of the whip. Then take the upper left cord around the back of the whip and back through itself on the left side and pull around the back. Do the same thing with the remaining left cord.
- Then repeat the process with the right cords. Pull the cord of the fall down so it is tight against the plait. Using pliers, pull on each individual strand to make everything super tight. Cut the remaining strands, except for the fall, to about 1” and the core strand to ¾”. Melt the core strand and press it into the end. Melt the remaining ends to prevent fray.
- Wrap the end of the handle where it starts to taper with a few wraps electrical tape. Make it really tight. Using a saw cut the end of the handle of just below your electrical tape. Wrap electrical tape over the end of the handle where you just cut, and a few more wraps around the end.
And...you're done!








Mark Kievit
October 05, 2020
Thank you for helping me complete one of my bucket list items. This was a well put together video, I used it to help me make a 12 ft whip. The lengths maybe different but the concept is the same. You are the Bob Ross of whip making.